
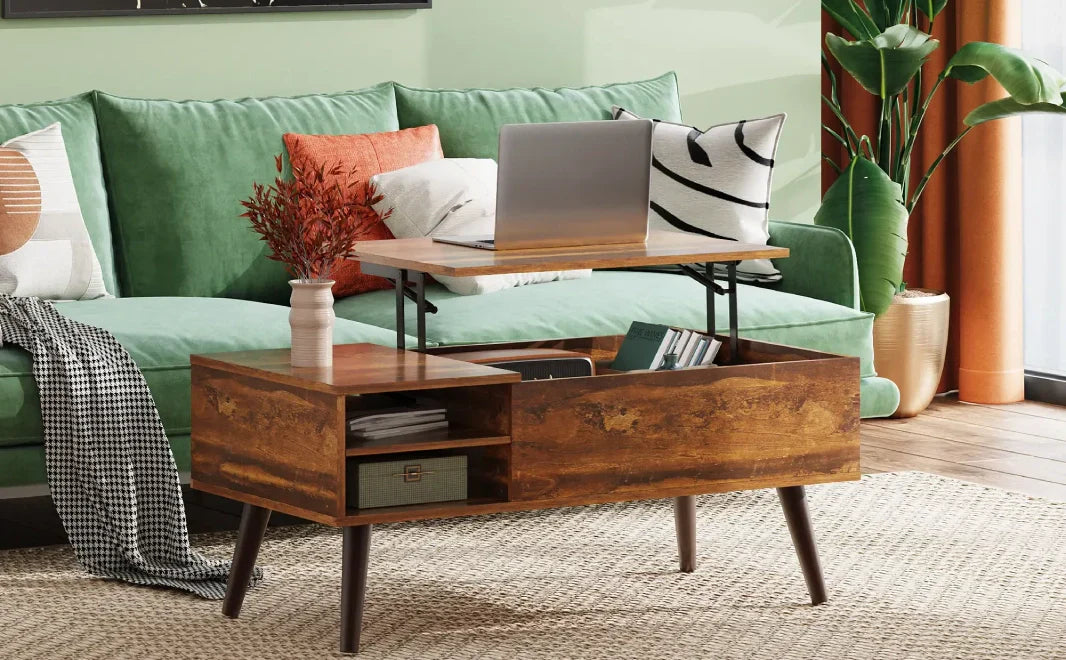
Though it sounds like a weekend fantasy, building a DIY coffee table with a lift top is more realistic than most people would believe. Learning how to create a coffee table by hand may be both useful and satisfying whether your needs are for additional storage, a flexible workstation, or just something to be proud of.
This is a hands-on guide with understandable, relevant instructions free of jargon, not merely another generic lesson. Even if you have never handled a saw by the conclusion of this article, you will know how to create a functional and stylish coffee table.
Step 1: Planning Your Coffee Table
Every decent construction begins with a blueprint. This stage is about your space, your needs, and how you will really use the completed piece—not only about appearance. Are you building a small room's coffee table? Do you require internal additional storage? Will the top need to lift smoothly for dinners or laptops?
A do-it-yourself coffee table should be designed with intent. A lift top design calls for a strong, balanced, precisely measured table. Consider table height and how far the lid must travel when raised. Plot your ideas on a sketch pad.
It doesn't have to be beautiful; just make sure you could see the construction and arrangement.With appropriate measurements and basic designs, statistically DIY house projects cut material waste by around 30%. Even simple design reduces mistakes costing time and money.
Step 2: Tools and Materials List for DIY Coffee Table
All the difference is knowledge of which tools to use and which materials to purchase. You only need the basics—not a complete workshop. Any easy diy coffee table project aims to be straightforward and affordable. Materials typically include of soft-close hinges or a spring-assisted lift mechanism, screws, wood glue, sandpaper, either stain or paint, for a basic lift top build, wood boards for the frame and top. Among tools could be a circular saw, a drill, clamps, a measuring tape, and a sander.
If you want your diy wood coffee table to last, always go for strong, quality lumber. Pine cuts easily and is reasonably priced. Poplar, maple, or oak gives it a more refined finish. Don't overlook purchasing wood meant for furniture, not for building structure.
Step 3: How to Measure and Cut Pieces

Most do-it-yourself coffee table projects fall apart in the area of incorrect material cutting. Everything is based on measurement precision. Measure first the area the table will occupy. For walking room, subtract at least 16 inches all around it. Now decide on your table's ultimate measurements. For most rooms, a nice dimension is between 40 and 48 inches long and 18 to 24 inches wide.
Plot the measurements with a pencil and square on your wood. Cut slowly and let the saw handle the job. Fast, forced cuts split the timber. Keeping the wood stable with clamps can help If you have never used power tools, a hand saw with a miter box still gets the work done.
The secret is consistent cutting. Projects with exact, calculated cuts lower the risk of wood splitting and joint failure by approximately 40%, claims a 2024 Home Carpentry Weekly article. When running through steps, this statistic is one to keep in mind.
Step 4: How to Build a Sturdy Base?
This area keeps everything together. The foundation of a coffee table built with a lift top must be solid. The added weight or movement will not be handled by flimsy legs. See the base as a box. Glue and screws will help you to attach four legs at each corner; subsequently, you can fastener horizontal rails between them.
Add cross beams inside the frame for even stability. Particularly if someone leans on the table or uses the top while it is raised, this helps stop the table from shaking. Check your corners twice with a square. Once completed, uneven angles will cause the entire coffee table diy construction to appear twisted.
Step 5: How to Attach the Tabletop?

All comes together on the tables. Making a coffee table with a lift top calls for a balancing act between strength and utility in the connection technique. Start by fastening the hinges within your frame. Above, position the tabletop and gently align the hinges. Holding it in place as you mark the screw holes with clamps can help Drill pilot holes then tightly screw everything in.
Before fully fastening, make sure the mechanism operates. When elevated, the top should rise straight forward and remain level. Test it many times. Double-check the hinge alignment if it wobbles or rises unevenly. This is the most patient-requiring component; yet, once it's working, your handcrafted coffee table is almost finished.
Step 6: How to Sand Smooth
This phase separates a splinter hazard from a polished table. Sanding is very important even if you intend to paint. To erase pencil lines or rough areas, start with an 80 grit coarse sandpaper. For a polished finish, work your way up to 120 or 150 grit.
Now is the time to sand and apply wood filler to any gaps or dents in your table. Soft edges provide a homemade wooden coffee table a professional, pro-level look and make the table safer for children. Never overlook the undersides. A coffee table build should feel completed even in areas you cannot see.
Step 7: How to Choose a Finish: Paint, Stain, or Clear Sealant?

Your desired look and use will determine how your homemade coffee table finishes. Stain brings out the inherent grain. It fits mid-century or farmhouse designs most of all. Apply with the grain using a cloth or sponge; wipe off the extra. Paint brings color and covers flaws. It's fantastic for contemporary or bold looks.
Particularly with permeable wood like pine, always prime before painting. Clear sealants protect the wood while yet maintaining its raw appearance. Popular are tung oil or polyurethane. A good finish is non-negotiable for daily use tables. Will this table contain drinks, computers, or children's toys? A proper finish guards it from all of that.
Step 8: How to Decorate the Homemade Coffee Table?
Style your homemade wood coffee table such that it fits. Try stacking in terms of texture. Softening is added with a table runner. Books or trays help to arrange remotes. It might be welcoming with plants or candles. Decorating also needs to be practical.
If it is a lift-top, give it space to open naturally. Steer clear of clutter including continually shifting objects. Consider the top as both a working and a decorating area. Making a coffee table yourself has the delight in that the design fits you. It is merely personal; it is not flawless.
What to Avoid on Coffee Table?
Throwing everything on the completed table is easy once it is there. Some factors, though, shorten the life of your diy coffee table quickly. Steer clear of damp glasses and coffee cups without coasters. Water damage degrades surfaces. Keep heavy objects off the raised top. Strong hinges, too, eventually fade under continuous strain.
Try not to treat it like a bench; lift-top systems are designed not to support human weight. Steer clear of dragging metal objects over the floor as well. That covers keys, rough bottom laptops, and metal decorations. They will leave marks that last permanently. A decent diy wooden coffee table needs some maintenance to last.
Stylish Coffee Tables You Don’t Have to Build

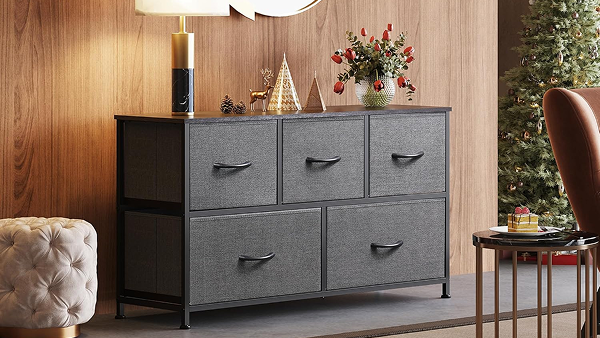
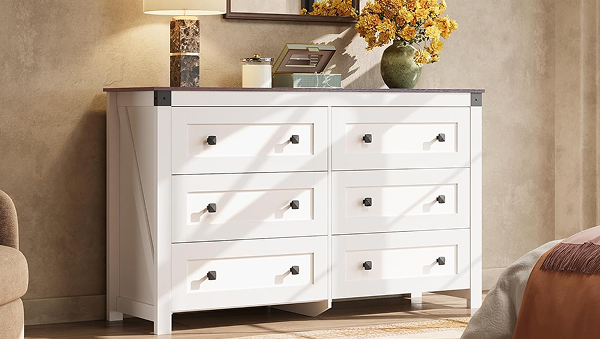
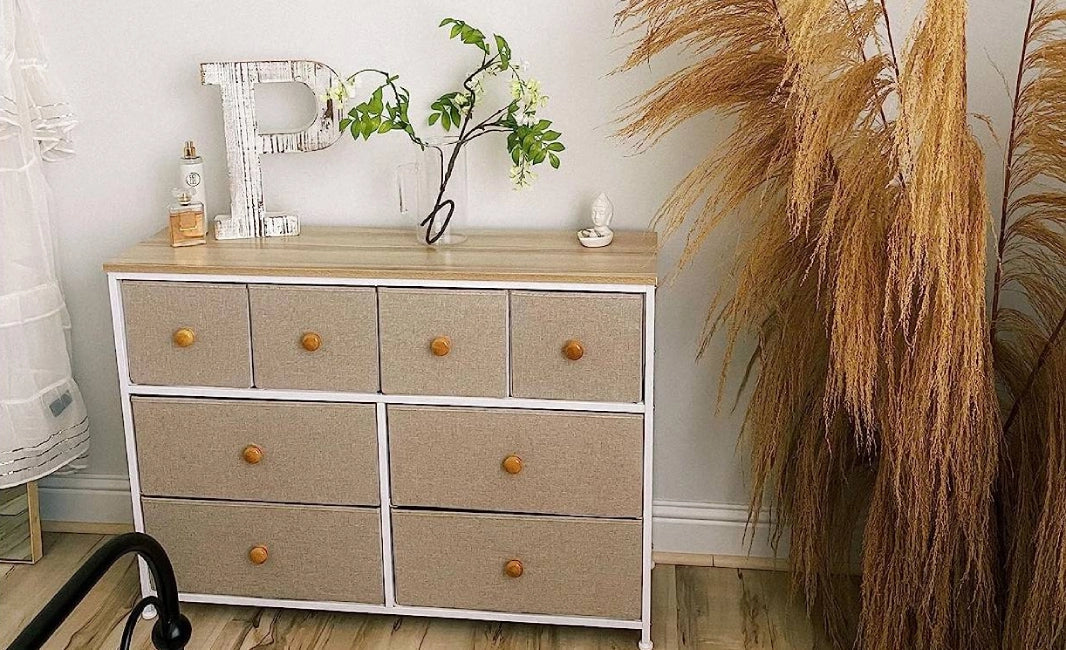
If all that sawdust sounds like a bit too much, don’t worry—we’ve got you covered. At Wlive, we offer clever alternatives that keep the handcrafted look without all the effort. Our coffee tables are thoughtfully designed, budget-friendly, and either ready to use or easy to assemble—so you get the charm without the hassle.
We make it easier to find options that fit smaller spaces or apartments, with features like lift tops, storage shelves, and compact sizes. For those who love the idea of building their own coffee table but don’t have the time or tools, we’re the next best thing. Whether you’re going for a rustic feel or a sleek, modern vibe, we bring the flexibility and function of a DIY project—without the power tools.
Conclusion
Creating a DIY coffee table doesn’t have to be daunting. With the right technique and a bit of effort, raw wood can turn into a beautiful, functional centerpiece. From design to sanding to finishing touches, every step adds personality to a handcrafted table. But we get it—not everyone has the time or tools to build one from scratch.
That’s where we come in. At Wlive, we design coffee tables that offer the same thoughtful purpose without the heavy lifting. Our pieces bridge the gap between store-bought and custom, blending style with real-life function. Whether you're tackling your first DIY project or just want something that fits your space perfectly, we believe in keeping it real—designed for how you live. Built like it matters. And at the end of the day, nothing beats that feeling of looking at your space and thinking, “I made that happen.”
Leave a comment
All comments are moderated before being published.
This site is protected by hCaptcha and the hCaptcha Privacy Policy and Terms of Service apply.